

Guest Room (Part Two)
- Hello Ember

- May 24, 2021
- 3 min read
I recently redid the larger guest room, and you can read all about the first version of the room here.
I kept trying to put this refresh off, telling myself, "It's fine, it's a guest bedroom, no one sees it or uses it right now anyway" But every time I walked past the room with the door open, the green color radiated into the hallway... almost as if it was taunting me...
So, one Saturday morning, I decided it was time. I didn't have other plans for the weekend, and I wanted a faster project than my office redo was turning out to be, so I got my ideas compiled and went for it.
For the second version, the things I wanted to update were: • The paint color: the green I originally had ended up being very different than what I intended
• Repainting the ceiling: all the rooms needed ceilings repainted, so why not do it during this refresh
• Updated ceiling fan: The original one was fine, perfectly functional, but very orange and not my style at all.
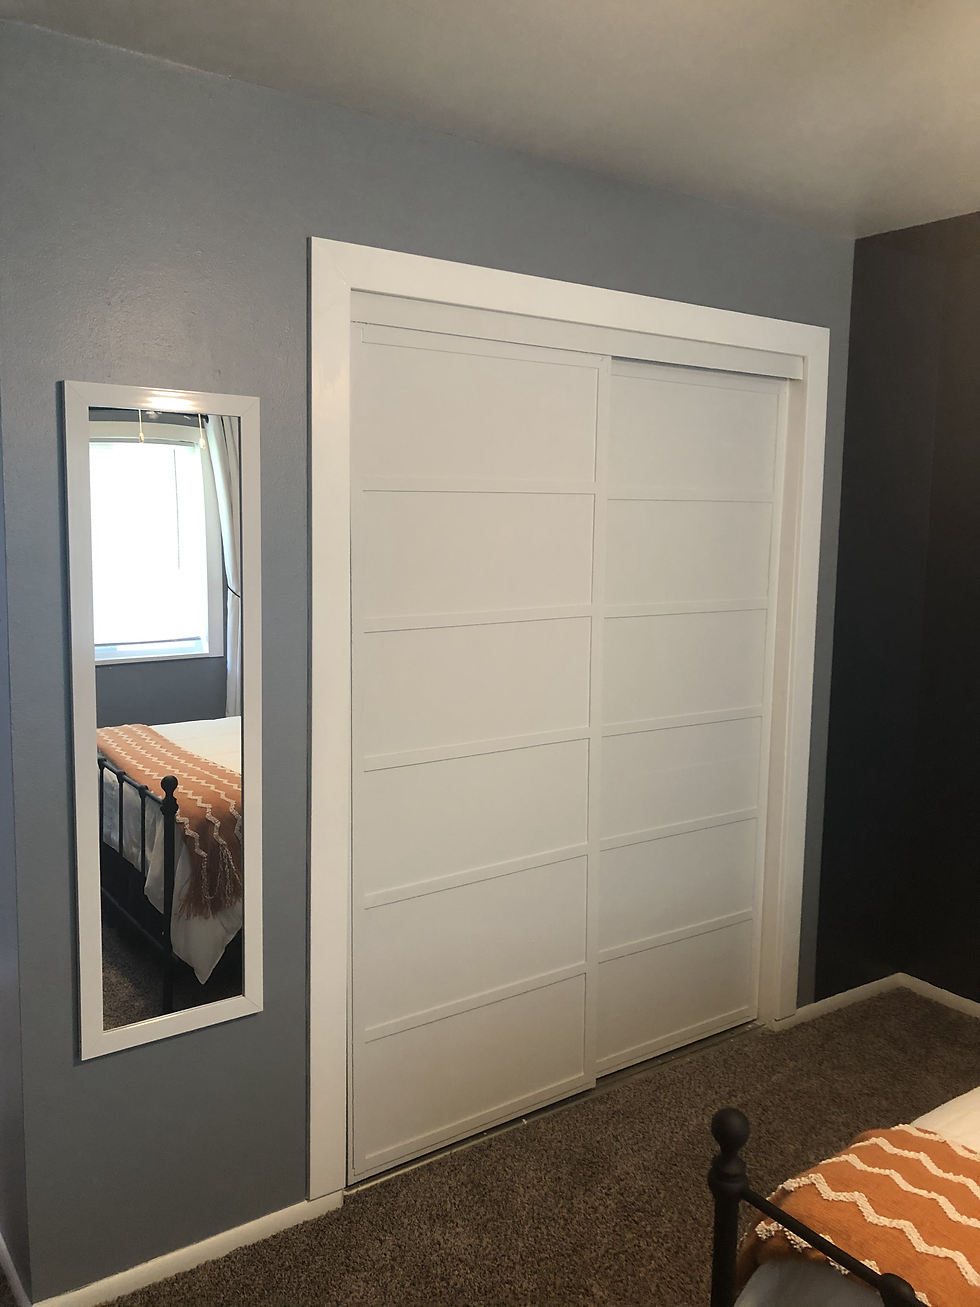
• Adding trim around the window and closet: There weren't any previously
• Adding some design elements to the old sliding doors
• Getting new nightstands
• Getting new lamps
• Adding window curtains
Process:
Step One:
The first step was to clear everything out, patch holes, and start painting. Since there were three colors, and I wanted to make sure the coverage was great, I started with the ceiling.
I was able to paint the ceiling pretty quickly, and relatively pain- free which was a huge progress point for me since I used to be on the verge of tears every time I had to paint a ceiling. I made sure to cover the seams really well where the wall met the ceiling to avoid any old paint sticking out, or missing areas. Painting around a ceiling fan was less than ideal, but not terrible. Then, I painted the walls the grey color, all but the back wall (because I knew this one would be the blue color)
Step Two:
Next up, it was time to paint the blue wall/cove color block. I used Frog Tape to tape off the area I wanted (the blue painter's tape just doesn't work as well) and a level to make sure my line was straight.
Doing the line on the ceiling was not fun, but I'm happy with how it turned out.


Step Three:
Then it was time to put trim around the closet doors and window. There originally wasn't any sort of trim, and I wanted it to look more polished, so I thought a guest room was a good place to experiment.
There were a couple times I had to re-cut, but it went pretty smoothly for the most part. And I'm SO happy with how my first attempt at 45° angle edges worked out.

I did end up having to cut out a notch on the window area to adjust for the ledge, which was intimidating, but worked out in the end. Nothing caulk can't cover.

Step Four:
The closet doors were a bunch of trial and error experiments themselves, so I'll make a separate post about how that went. Once it's done, I'll link it here.
Step Five:
The fan/light was perfectly adequate, but not our style at all, and didn't go with really anything in the house. So, that got swapped out for a more modern all white one. I was more along for help on that- I'm not much of an electrical swapper currently, and Drew has become pretty good at it.
Step Six:
And finally, we hung the curtains, I put together the nightstands, set up the new lamps, and furniture was moved back into place.
The nightstands I got were actually two sets of two that stack (four altogether) because it's nice to have an option of a few more if needed for multiple guests.

Before:

Photographing the space was a bit tricky because of lighting/the dark blue was hard to properly capture, but here's how it ended up:


Total Time: About 3 weekends, and a few weeknights Biggest takeaway: Paint makes a huge difference (which I knew, but this really solidified that)
Eventually, I'll hang things on the grey wall opposite of the bed, but I'd like to replace that large wooden furniture piece with a desk with drawers.
Originally I had planned to put something on the wall over the bed (on the blue) but after it was done, I couldn't bring myself to put anything on top of it. I like the impact it has by itself.
I did tiptoe into some woodworking with the window framing, and the detailing on the door. Nothing major, but it did make me feel a lot more comfortable with the process and my ability to do it. I am very much looking forward to doing more to grow those skills.


Comments